How to Connect a Smart Home Control Panel to Home Assistant
As smart home systems become increasingly interconnected, homeowners are seeking to manage lighting, curtains, air conditioning, sensors, and various other devices through a unified interface. Home Assistant has emerged as a favored platform for integrating diverse smart home devices and services. However, utilizing a touchscreen control panel to engage with Home Assistant necessitates more than merely linking both devices to the same network.
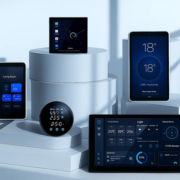
A smart home control panel serves as the user interface, while Home Assistant oversees connected devices, integrations, and automation logic. When these two elements collaborate effectively, users can monitor device statuses, activate scenes, modify settings, and control various smart home functionalities from a wall-mounted touchscreen.
For manufacturers of smart home products, system integrators, and property developers, this synergy also presents opportunities to create tailored control solutions. Portworld provides Android-based and ESP32-based smart home control panels, including the YC-SM41P, YC-SM10P, and YC-SM43P, which can be assessed for various Home Assistant integration strategies.
This guide outlines the process of connecting a smart home control panel to Home Assistant, the available communication methods, and the hardware and software requirements that should be taken into account.
1. Grasp the Connection Between a Smart Home Control Panel and Home Assistant
Prior to initiating the configuration process, it is crucial to comprehend the functions of both systems.
Home Assistant serves as the primary smart home platform. It links compatible devices via integrations, organizes them into entities, and oversees automations. For instance, a lighting integration may generate entities that enable users to turn lights on or off, modify brightness levels, and track their current status.
A smart home control panel offers a tangible interface for accessing these functionalities. It can showcase a Home Assistant dashboard, transmit commands, and present real-time information about devices.

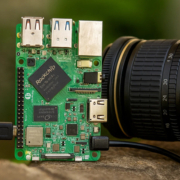
p3506-smart motheboard
A standard system architecture is represented as follows:
Smart Home Devices → Home Assistant → Local Network → Smart Home Control Panel
For example:
- A smart light connects to Home Assistant through an approved integration.
- Home Assistant establishes a light entity and supervises its status.
- The touchscreen panel retrieves a Home Assistant dashboard.
- A user interacts with the lighting control displayed on the screen.
- Home Assistant relays the command to the linked light.
- The revised light status is reflected on the control panel.
The panel does not necessarily require direct communication with each smart device. Home Assistant can oversee the devices and deliver a consolidated interface.
This architecture proves advantageous when a smart home comprises devices from various manufacturers or employs multiple communication protocols.
2. Set Up the Smart Home Control Panel and Home Assistant System
Prior to connecting the devices, ensure that the fundamental hardware and network environment are prepared.
Typically, you will require:
- An operational Home Assistant installation.
- A compatible smart home control panel.
- A reliable local network connection.
- A web browser or a supported Home Assistant application.
- Smart home devices that are compatible and already linked to Home Assistant.
Home Assistant can be executed on compatible hardware, such as a dedicated computer or an appropriate single-board computer. The control panel does not have to host Home Assistant directly. In numerous setups, Home Assistant operates on a distinct server, while the touchscreen panel connects to it via the local network.
For a wall-mounted control panel, Ethernet or PoE can be advantageous where applicable, as they offer a stable network connection and can facilitate installation. Wi-Fi serves as an alternative for setups where network cabling is not feasible.
It is also advisable to assign a consistent local address to the Home Assistant server or to configure a dependable hostname. This simplifies the process for the control panel to reconnect following a network restart.
smart home control panel
Method One: Accessing the Home Assistant Dashboard
For smart home control panels that operate on Android, the simplest method is to access the Home Assistant dashboard via a web browser or the official Android Companion app.
Home Assistant offers customizable dashboards that can showcase controls for lighting, climate, cameras, sensors, and automation scenes.
Step 1: Install Home Assistant
Begin by installing and configuring Home Assistant on your chosen server. Complete the initial setup and incorporate the necessary integrations for your smart home devices.
For instance, you might integrate systems for lighting, climate control, Zigbee devices, smart plugs, or other compatible equipment.
Step 2: Design a specific dashboard
Launch Home Assistant and go to the dashboard configuration settings.
Arrange the interface based on the specific room or purpose. For example, a dashboard for the living room could feature:
- Primary lighting controls
- Curtain open/close options
- Air conditioning settings
- Indoor temperature and humidity readings
- Views from security cameras
- Good Morning and Good Night automation scenes
Having a dedicated dashboard is typically more user-friendly than trying to display every device and setting simultaneously.
Step 3: Connect the control panel to the same network
Establish a connection between the Android control panel and the local network via Wi-Fi or Ethernet, based on the hardware configuration available.
Launch the panel’s browser and input the local Home Assistant address, for instance:
- http://192.168.1.100:8123
- Substitute the example address with the actual address and port of your Home Assistant server.
- Log in using a suitable Home Assistant account and access the dashboard.
- Step 4: Configure the panel for wall-mounted operation
For a dedicated Android touchscreen, it is advisable to set the Home Assistant Companion app as the default home launcher, where applicable.
This configuration allows the panel to directly open into Home Assistant upon startup. Additionally, you can adjust screen behavior and choose a specific dashboard for the device.
The official Home Assistant Android Companion documentation outlines these options, including how to set the app as the default home application and create a kiosk-style dashboard.
This approach is particularly beneficial for Android-based Portworld panels such as the YC-SM41P and YC-SM10P, provided that the specific firmware supports the necessary browser or Android application environment.
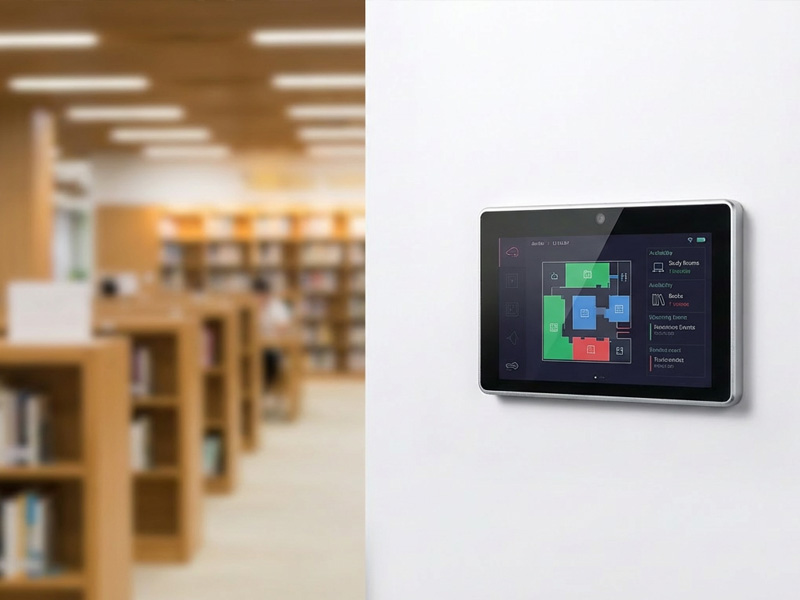
smart home control panel
4. Method Two: Utilize the Home Assistant Android Companion Application
An alternative method is to download the official Home Assistant Companion application on a compatible Android control panel.
This application grants access to the Home Assistant interface along with additional functions tailored for Android. Once the application is connected to your Home Assistant server, users can navigate dashboards and utilize supported features via the control panel.
The typical setup procedure includes:
1. Downloading the Home Assistant Companion application on the Android panel.
2. Connecting the panel to the local network.
3. Inputting the Home Assistant server address.
4. Logging in with the authorized Home Assistant account.
5. Choosing the dashboard designated for the panel.
6. Adjusting startup and display settings for uninterrupted operation.
For installations mounted on walls, creating a dedicated Home Assistant user account can assist in maintaining distinct dashboards and access permissions for each panel.
This method is ideal for projects utilizing Android-based touchscreen hardware that aim to showcase Home Assistant without the need to create an entirely separate control application.
Nevertheless, it is essential to verify the Android version, available storage, firmware limitations, and application compatibility prior to selecting a panel for implementation.
5. Method Three: Connecting via MQTT
MQTT serves as a valuable alternative, particularly for embedded control panels and tailored IoT applications.
In contrast to the dashboard method, MQTT facilitates the exchange of messages between a control panel or embedded device and Home Assistant via an MQTT broker.
The typical communication architecture is represented as follows:
- Smart Home Control Panel ↔ MQTT Broker ↔ Home Assistant ↔ Connected Devices
- For instance, consider a 4-inch touchscreen panel that manages a living room light.
When a user presses the lighting button, the panel sends a message to an MQTT topic:
home/living_room/light/set
The message may include:
ON
Home Assistant or another service connected through MQTT receives this command and operates the respective light. Once the light’s state changes, its new status can be published to a different topic:
home/living_room/light/state
The control panel subscribes to this status topic and refreshes its display.
To execute this method:
Step 1: Establish an MQTT broker
Install a suitable MQTT broker, such as Mosquitto, or configure an already existing broker.
Step 2: Integrate MQTT with Home Assistant
In Home Assistant, navigate to:
Settings → Devices & services → Add Integration → MQTT
Input the broker details and finalize the connection setup.
Step 3: Set up the MQTT client for the control panel
The control panel or its application firmware must include an MQTT client capable of connecting to the broker using the appropriate network address, port, username, and password.
Step 4: Specify MQTT topics
Establish a uniform topic structure for lighting, curtains, temperature, and other devices.
Step 5: Configure entities in Home Assistant
Utilize MQTT discovery or manual configuration to make the relevant devices and functionalities available in Home Assistant.
Step 6: Validate command and status feedback
Ensure that commands are successfully sent to the designated devices and that the panel receives updated status information.
MQTT is especially advantageous when creating a customized ESP32-based control panel. However, it necessitates software implementation on the panel. One should not assume MQTT support solely based on a device’s Wi-Fi or Ethernet capabilities.
6. Which Portworld Smart Home Control Panels Are Available?
The ideal panel is contingent upon whether the project requires an Android-based Home Assistant interface or a tailored embedded controller.
Portworld provides various touchscreen hardware platforms designed for smart home applications.
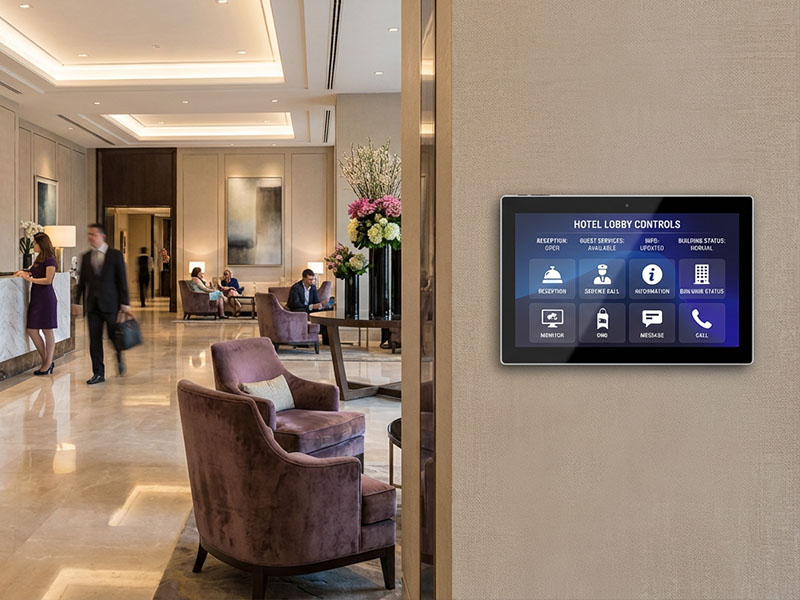
YC-SM10P
10.1 inch Smart Home Control Panel
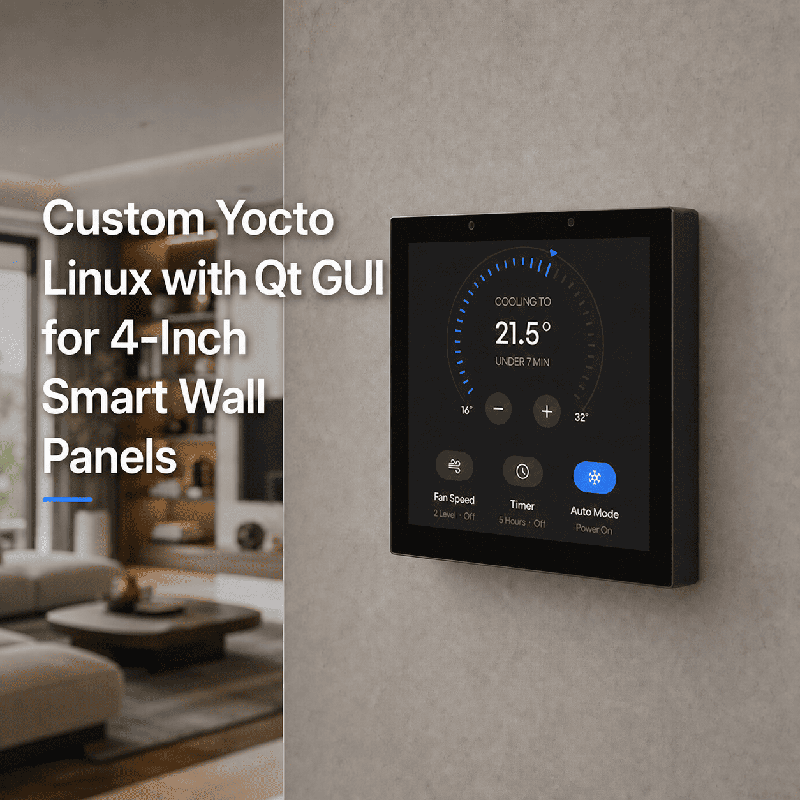
YC-SM41P – 4-Inch Android Smart Home Control Panel
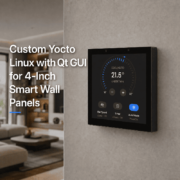
The YC-SM41P is a compact, wall-mounted touchscreen panel utilizing the Rockchip RK3566 platform. It features a 4-inch, 480 × 480 touchscreen and is available with either Android or Debian-based software configurations.
Its small footprint makes it ideal for room-level control, encompassing lighting, curtains, and temperature-related interfaces.
For Home Assistant projects, the Android version can be assessed for browser-based dashboards or the Android Companion app, depending on firmware and application compatibility.
Additionally, its Ethernet and PoE options can facilitate easier network and power installation.
YC-SM10P – 10-Inch Smart Home Control Panel
The YC-SM10P is a larger touchscreen panel also based on the RK3566 platform, featuring a 10-inch display with an Android-based configuration.
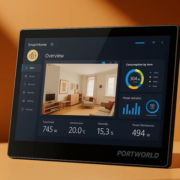
The expanded screen area allows for more comprehensive dashboards that can display multiple device groups, room controls, sensor readings, and camera views.
It is suitable for centralized smart home interfaces in larger residential projects, villas, and commercial buildings.
YC-SM43P – ESP32-S3 Smart Touch Control Panel
The YC-SM43P is built on the ESP32-S3 platform and features a 4-inch touchscreen with a resolution of 480 × 480, utilizing an LVGL-based interface for development.
It offers support for Wi-Fi and Bluetooth connectivity, with additional options for Ethernet, PoE, and RS485 depending on the specific configuration. Its embedded architecture renders it ideal for tailored IoT control interfaces.
It is important to note that the YC-SM43P should not be regarded as a device capable of simply installing the Android Home Assistant Companion app, unlike an Android panel. To connect it to Home Assistant, an embedded application is typically required to facilitate communication through suitable methods such as MQTT or a custom API integration.
This characteristic makes it an appealing choice for projects seeking a lightweight, branded touchscreen interface instead of a comprehensive Android dashboard.
7. Customize the Control Interface for Various Smart Home Applications
Establishing a connection between the panel and Home Assistant is merely the initial step. The design of the interface significantly impacts the overall user experience.
While a generic dashboard may suffice for testing purposes, commercial smart home products frequently necessitate a more structured and branded interface.
For instance, a residential project might demand a layout organized by room:
- Living Room
- Main light
- Ambient lighting
- Curtains
- Air conditioning
- Entertainment scene
- Bedroom
- Bedside lighting
- Temperature
- Curtains
- Sleep scene
- Wake-up scene
- Entrance
- Door lock status
- Security camera
- Doorbell
- Away mode
Portworld provides OEM/ODM customization services for smart home control panels, including hardware configuration, software customization, and UI/UX design.
Customization may encompass the following aspects based on the project:
- Custom screen layouts and branded interfaces
- Various touchscreen sizes and resolutions
- Software customization for Android or Linux
- Integrations for MQTT and other communication protocols
- RS485 and additional peripheral interfaces
- Configuration for PoE and Ethernet
- Automatic startup of applications
- Custom logos, models, and packaging
For smart home brands and system integrators, these offerings can transform a standard touchscreen into a product that aligns with a specific automation platform and project design.
It is crucial to delineate which functions are managed by Home Assistant and which are executed directly on the panel. This clarification helps prevent redundant automation logic and facilitates easier maintenance in the future.
Plan Your Home Assistant Control Panel Project with Portworld
For smart home integrators or product manufacturers, connecting a touchscreen to Home Assistant may represent just one aspect of a broader development initiative.
The final product might also necessitate a specific screen dimension, mounting framework, processor platform, communication interfaces, software environment, and a branded user interface.
Portworld offers smart home touchscreen products along with customization services to meet these specifications. Their engineering services encompass hardware and PCBA development, operating system customization, protocol integration, UI/UX design, and OEM/ODM manufacturing.
Whether a project requires a compact Android wall panel, a larger centralized touchscreen, or an ESP32-based embedded control interface, the hardware and software can be assessed based on the intended Home Assistant architecture.
For companies creating smart home products, this strategy provides the flexibility to select the control interface while maintaining device management and automation within a recognized smart home platform.