How to Program KNX Touch Control in ETS6: Step-by-Step Guide
If you are aiming to establish KNX touch control panels for your smart home, hotel, or office, ETS6 (Engineering Tool Software 6) serves as the industry-standard platform for the programming and configuration of KNX devices. This guide provides a step-by-step explanation on how to program KNX touch control panels using ETS6.
What is ETS6?
ETS6 is a professional software application utilized for the design, configuration, and management of KNX installations. With ETS6, you are able to:
- Program KNX devices and touch panels
- Configure group addresses and communication objects
- Monitor and test the KNX system
It accommodates a broad spectrum of devices, including KNX touch panels from Portworld, thereby ensuring seamless integration for lighting, HVAC, blinds, and security systems.
Step 1: Install and Open ETS6
- Download ETS6 from the official KNX website.
- Install the software by following the on-screen instructions.
- Launch ETS6 and initiate a new project for your building or room.
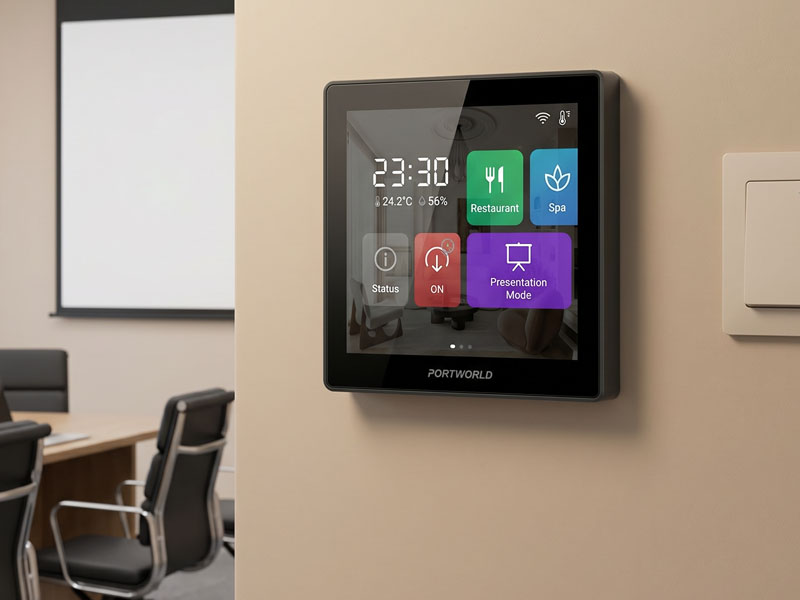
4″ KNX Smart Touch Control Panel
Tip: Assign a clear name to your project to facilitate easier device management.
Step 2: Add Your KNX Touch Panel
- In the Devices tab, click on Add Device.
- Select your KNX touch panel model from the product catalog.
- Assign a physical address to the device (for example, 1.1.10).
Note: Physical addresses must remain unique within the KNX installation.
Step 3: Configure Group Addresses
Group addresses facilitate communication among KNX devices.
- Navigate to the Group Addresses tab.
- Establish addresses for functions such as:
- Lighting ON/OFF
- HVAC control
- Blind up/down
- Security and alarms
- Link these group addresses to the respective communication objects of the touch panel.
Pro Tip: Implement a hierarchical structure (e.g., Floor/Room/Function) for enhanced clarity.
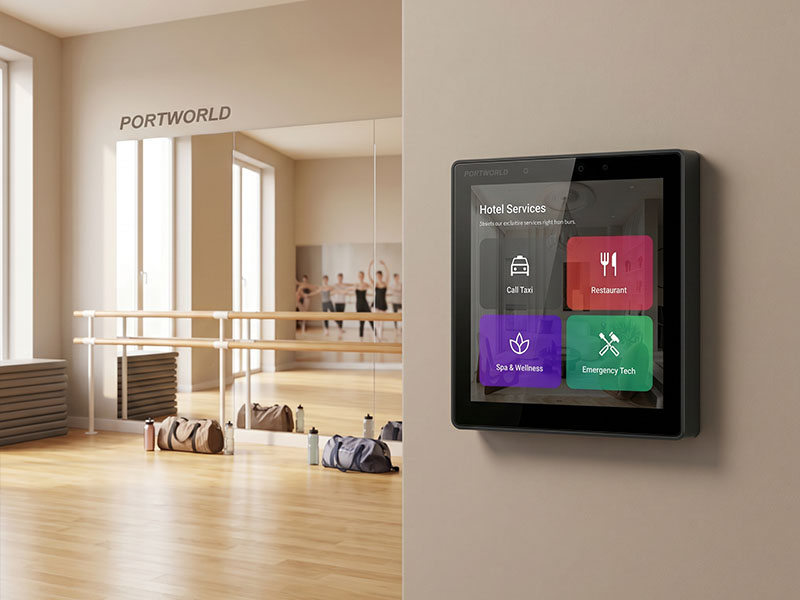
4″ KNX Smart Touch Control Panel
Step 4: Program Functions and Scenes
- Access your touch panel parameters in ETS6.
- Assign each button or touch gesture to the appropriate KNX function or group address.
- Set up scenes as necessary (e.g., “Movie Mode” which turns off lights, lowers blinds, and adjusts temperature).
- Preserve the configuration.
Step 5: Download and Test
- Connect your ETS6 computer to the KNX bus using USB, IP, or TP interface.
- Select Download to transfer the configuration to the touch panel.
- Test all functionalities: touch gestures, lighting, HVAC, blinds, and sensors.
- Tip: Utilize ETS6 monitoring tools to confirm real-time communication and address any errors.
Step 6: Advanced Customization
- Custom UI: Numerous KNX touch panels are compatible with Android or Linux for a tailored interface.
- Zigbee Integration: Broaden your system with smart devices through a Zigbee gateway.
- Multi-Room Automation: Set up cross-room scenes suitable for hotels or office settings.
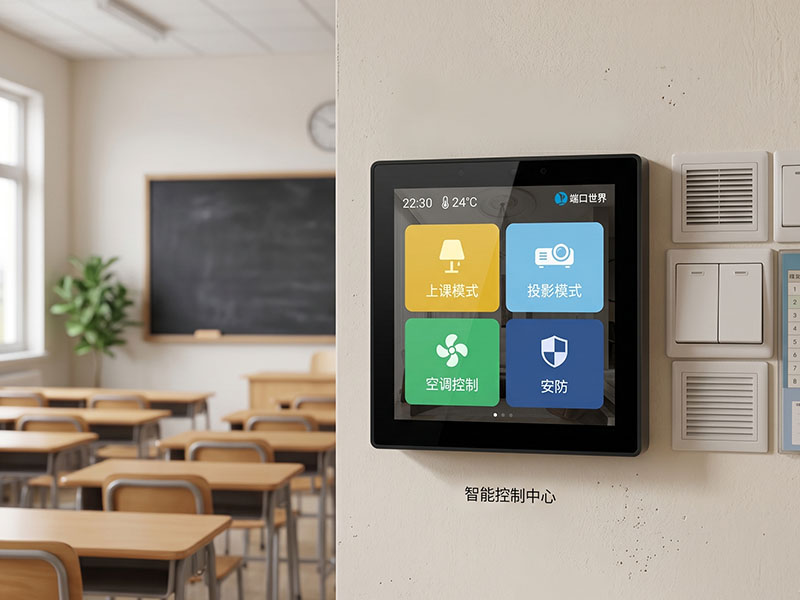
4″ KNX Smart Touch Control Panel
Reasons to Utilize Portworld KNX Touch Panels with ETS6
- Complete compatibility with ETS6
- High-performance hardware featuring RK3566/RK3568 processors
- Versatile operating system support: Android 13, Linux, Debian
- Optional integration of PoE, Wi-Fi, and Zigbee
- Tailored OEM/ODM solutions for both commercial and residential applications
Configuring a KNX touch control panel within ETS6 enables the development of a centralized, intelligent, and customizable automation system. With the correct configuration, you can manage lighting, HVAC, blinds, and security systems with a simple touch or gesture, thereby establishing a genuinely smart and energy-efficient environment.


