How to Mount a European Standard KNX Touch Panel in a US Junction Box
Home automation technology is gaining significant traction, with KNX touch panels leading the way in professional control systems. A prevalent issue encountered by both integrators and homeowners is the installation of a European standard KNX touch panel into a US junction box. The variations in dimensions, wall cutouts, and mounting standards can complicate the installation process; however, with meticulous planning, it can be successfully accomplished.
This guide will provide a detailed, step-by-step approach to installing a European KNX touch panel in a US wall box, along with recommendations to guarantee compatibility and enhance performance.
Understanding the Differences Between EU and US Wall Boxes
Before installation, it’s important to understand the main differences:
| Feature | EU Wall Box | US Wall Box |
|---|---|---|
| Standard Size | 60mm × 60mm (86-type) or larger | 4-inch square or rectangular |
| Mounting Depth | 50-60mm typical | 50-60mm typical |
| Fixing Method | Screws on side brackets or rear tabs | Screws on front flanges |
| Faceplate Compatibility | Usually built into panel | Often requires adapter or custom frame |
European KNX touch panels are usually designed for 86-type wall boxes, which are smaller in width and height compared to standard US 4-inch square boxes. This mismatch requires either an adapter plate or custom mounting bracket for proper installation.
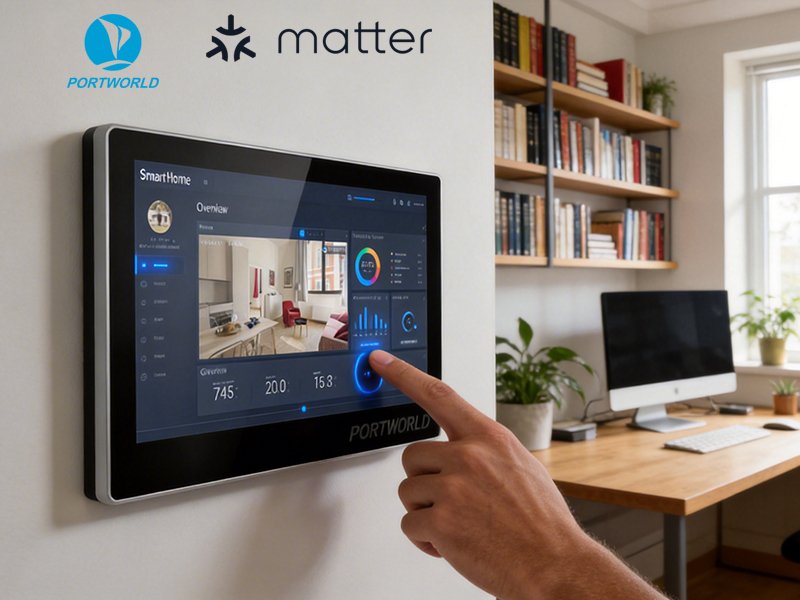
smart home control panel
Step 1: Measure Your Junction Box and Panel
- Measure the width, height, and depth of your US junction box.
- Compare it with the KNX touch panel dimensions.
- Ensure the US box can accommodate the panel’s depth (typically 50–60mm for modern panels).
If the box is too small, consider replacing it with a deeper box or using a surface-mount enclosure.
Step 2: Choose a Compatible Mounting Adapter
To mount a European KNX panel in a US junction box:
- Adapter plate: Converts the 86-type mounting holes to the US 4-inch screw locations.
- Custom backplate: Provides extra support for heavier panels.
- Surface-mount frame: If in-wall installation is impossible, a frame allows the panel to sit on the wall surface with a flush finish.
Tip: Some manufacturers like Portworld offer customizable mounting kits for multi-standard compatibility.
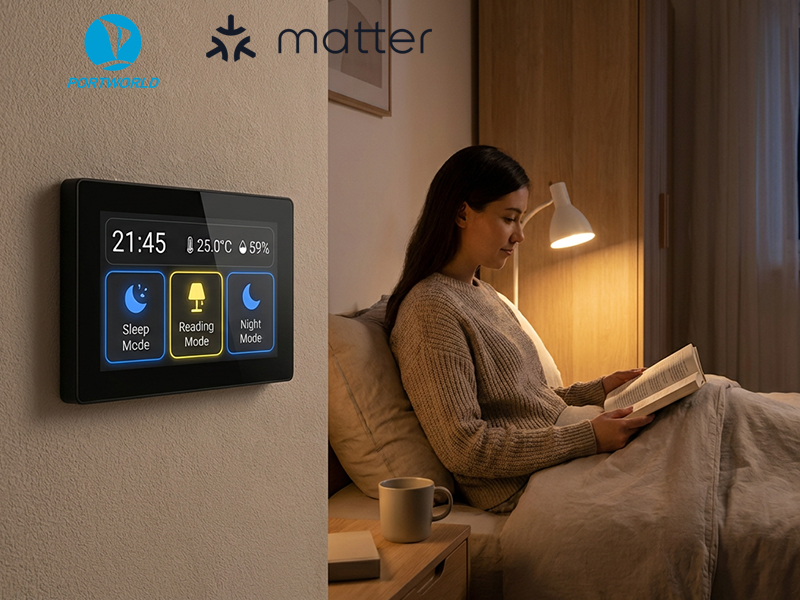
smart home control panel
Step 3: Install the Mounting Hardware
- Attach the adapter plate or bracket within the US junction box.
- Ensure that the plate is level and securely fastened.
- Verify that the screw holes align with both the wall box and the KNX panel.
- This guarantees a robust and secure installation capable of withstanding daily interactions.
Step 4: Connect the Panel
European KNX panels typically support 48V PoE, RS485, or Ethernet connections:
- Run Cat5e/6 Ethernet cables for PoE.
- For RS485 integration, connect the bus cable to your KNX network.
- Confirm power and communication before completing the installation.
Utilizing PoE streamlines the process, as both power and data are transmitted through a single cable, minimizing the requirement for separate power wiring.
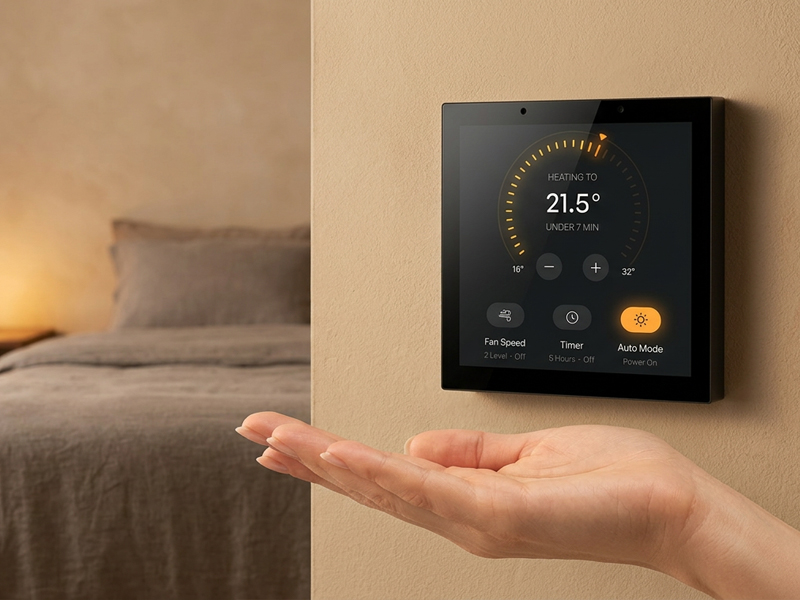
smart control panel1
Step 5: Install the Panel
- Carefully slide the KNX panel onto the adapter or bracket.
- Align the mounting holes and secure them with screws.
- If necessary, snap or attach the faceplate.
- Ensure that the panel is flush against the wall for a polished appearance.
Step 6: Verify Functionality
- Confirm that the touchscreen responds appropriately.
- Check the KNX integration with lighting, HVAC, and other devices.
- Test the network connectivity along with any app or firmware updates.
- Thorough testing guarantees that the panel functions seamlessly without any loose connections.
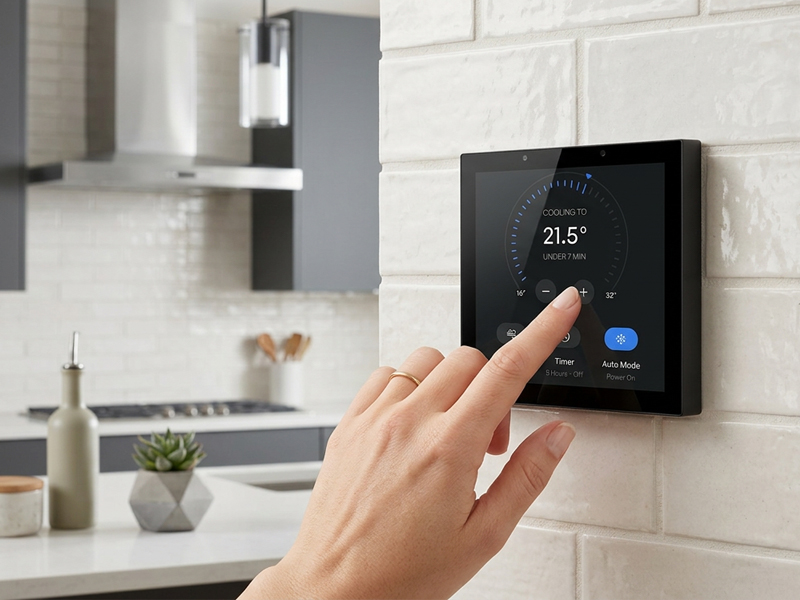
smart control panel
Tips for Effective Installation
- Always turn off the KNX network prior to wiring.
- Utilize high-quality screws and mounting plates to avoid damage.
- If the panel is compatible with multiple operating systems (Android/Linux), ensure that the firmware is updated to support your KNX devices.
- Consider Portworld smart KNX panels, which offer multi-standard mounting options, PoE support, and RS485 interfaces for straightforward integration in both EU and US installations.
Successfully mounting a European standard KNX touch panel in a US junction box is possible with careful planning, the appropriate adapter or bracket, and meticulous attention to installation details. Whether upgrading a smart home or implementing KNX automation in a commercial setting, adhering to these steps guarantees a secure, functional, and visually appealing installation.
For a seamless installation experience, consider Portworld’s KNX smart panels, which provide multi-standard compatibility, PoE support, and OEM/ODM customization services to meet any project needs.


