Meeting Room Status Displays: Features and Installation Guide
As organizations embrace hybrid work models and more adaptable meeting arrangements, the management of shared meeting spaces has gained significant importance. Employees must be informed about room availability, whether a meeting is in progress, and when the next reservation starts. In the absence of clear information, meeting rooms risk being double-booked, remaining unused due to no-show reservations, or being occupied by individuals unaware of the existing schedule.
Meeting room status displays address these challenges by providing real-time information on room availability and scheduling directly outside the meeting room. Rather than checking a calendar on a computer or inquiring with colleagues, employees can quickly ascertain the room’s current status at a glance.
For businesses considering the installation of these displays, selecting the appropriate screen is merely one aspect of the process. Factors such as display size, touchscreen capabilities, calendar integration, network connectivity, power supply, mounting options, and software compatibility all play a crucial role in the successful implementation of the installation.
This guide outlines the essential features of meeting room status displays and the practical considerations necessary for their deployment in contemporary office settings.
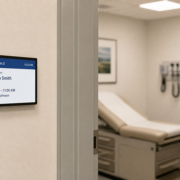
A meeting room status display refers to a digital screen positioned outside a conference room or meeting area to indicate its availability and schedule.
Depending on the software utilized, the display may present:
- The name and location of the room
- Current availability status: Available, Occupied, or Reserved
- Details of the current meeting
- Schedules for upcoming meetings
- Start and end times for meetings
- Room capacity along with available equipment
- Options for booking or checking in
While some displays serve solely to convey information, interactive versions enable employees to reserve an available room, check in for a scheduled meeting, extend a reservation, or release a room ahead of time.
It is important to note that a meeting room status display does not constitute a comprehensive room booking system. Instead, it acts as the user interface, with scheduling, calendar synchronization, and reservation management reliant on the associated software and backend services.
For instance, a company might link its displays to room calendars in Microsoft 365 or Google Workspace. When a meeting is created or altered, the scheduling platform can synchronize the details and refresh the corresponding room display.
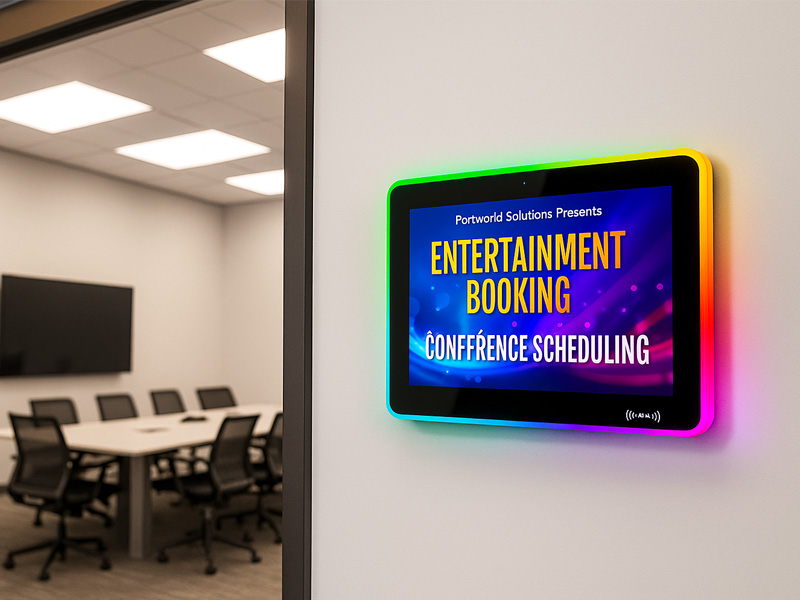
YC-LE156
15.6″ Meeting Room Display Panels
Key Features of Meeting Room Status Displays
1. Real-Time Room Availability
The main purpose of a meeting room status display is to indicate whether a room is free.
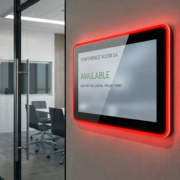
A distinct visual cue enables employees to recognize available areas without needing to access a booking application. Numerous systems employ various colors or status labels to differentiate between available, occupied, and upcoming reservations.
A standard interface may feature:
- Available: No current reservation is in place.
- Occupied: A meeting is in progress.
- Upcoming: A reservation is imminent.
- Reserved: The room has a scheduled booking in the future.
- Out of Service: The room is not available for use at this time.
- The specific status categories may vary based on the scheduling software used.
In offices with several meeting rooms situated along the same corridor, clear status indicators can minimize unnecessary disruptions and assist employees in finding an available room more efficiently.
2. Meeting Schedule and Calendar Information
In addition to indicating current availability, meeting room displays can also showcase forthcoming reservations.
A display may present details such as the time, duration, title, and other authorized information of the next meeting. This assists employees in understanding when a room will be free and minimizes confusion regarding room utilization.
Calendar integration holds significant importance for organizations that manage meeting schedules via platforms like Microsoft 365, Exchange, or Google Workspace.
Prior to selecting a display, it is essential to confirm that the software platform is compatible with the necessary calendar service and room resource configuration. Calendar synchronization is a feature of the software, not merely a function guaranteed by the display hardware.
Consideration for privacy is also crucial. Some organizations opt to display only the meeting time and booking status, omitting the meeting title or the organizer’s name.
YC-LE156
15.6″ Meeting Room Display Panels
3. Touchscreen Booking and Check-In
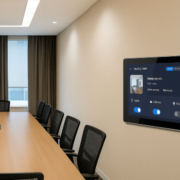
The functionality of a touchscreen can transform a meeting room status display into more than just an informational panel.
Depending on the application, employees may have the capability to:
- Reserve an available room instantly.
- Check in to a pre-existing reservation.
- Prolong an ongoing meeting when the subsequent time slot is free.
- Conclude a meeting prematurely and free up the room.
- Review upcoming bookings.
- Locate other available meeting rooms.
The check-in feature can also assist organizations in managing unutilized reservations. If a meeting organizer fails to check in within a designated timeframe, the booking software may automatically free the room.
These functionalities necessitate support from the room scheduling application. A touchscreen display alone does not facilitate booking or calendar management.
For projects that solely require displaying availability and upcoming schedules, a non-touch display may suffice. Touchscreen hardware is more suitable when employees need to engage directly with the room management system.
4. Clear Display and Visual Indicators
A display in a meeting room should be easily readable from the corridor and from various angles.
Key specifications for the display include:
- Screen size
- Resolution
- Brightness
- Viewing angle
- Touch responsiveness, if applicable
- Screen orientation
- Color and contrast
Compact screens are effective outside small meeting rooms, whereas larger displays are more appropriate for conference rooms, shared areas, or locations where users need to view more detailed schedules.
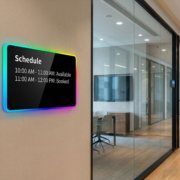
Additionally, some systems feature LED indicators around the screen or along its edges. These indicators enhance visibility of room availability from a distance, even before an individual approaches the display.
When choosing a screen, it is essential to consider the actual installation environment. A brightly lit office corridor, a glass wall, or an area with intense overhead lighting may necessitate different display characteristics compared to a smaller internal meeting space.
5. Customizable Interface and Branding
In corporate settings, the displays in meeting rooms contribute significantly to the overall visual identity of the workplace.
A tailored interface may feature the company logo, room designation, brand colors, icons, and the preferred language. The arrangement can also be crafted to emphasize the information that employees find most essential.
For instance, a small meeting room might only showcase its name, current status, and the next reservation. Conversely, a larger conference room could present its capacity, available equipment, and a more comprehensive schedule.
Additionally, some organizations incorporate QR codes that enable employees to access a booking page via their mobile devices. This necessitates compatible software and a properly configured booking workflow.
6. Remote Device Management
For organizations with numerous meeting rooms or multiple office locations, centralized device management can streamline maintenance processes.
A compatible management platform may empower administrators to oversee connected displays, distribute software updates, modify interface settings, and manage content from a remote location.
Valuable management features may encompass:
- Device online/offline monitoring
- Remote configuration
- Application updates
- Screen brightness and sleep schedules
- Centralized interface customization
- Error notifications
The functions available are contingent upon the software and hardware platform. Businesses should ascertain which management tools are included prior to deploying displays across various offices.
digital signage display-1
Selecting the Appropriate Meeting Room Status Display
Choosing the correct hardware necessitates an understanding of how the display will be utilized and the systems it needs to integrate with.
Screen Dimensions and Installation Position
The size of the screen should correspond to the volume of information presented and the distance from which employees will view it.
A compact display may suffice for a basic available/busy indicator along with the next meeting time. Conversely, a larger screen may be more suitable if the interface features multiple upcoming reservations, room capacity details, or interactive booking functionalities.
Additionally, consider the physical placement. The display must be easily visible without obstructing doorways, interfering with room signage, or causing installation challenges.
For meeting rooms with glass walls, verify if an appropriate glass mounting solution is available. The bracket and installation technique should be compatible with both the display’s weight and the glass structure.
Touchscreen or Non-Touch Display
The choice between touchscreen and non-touch hardware depends on the required workflow.
| Requirement | Non-Touch Display | Touchscreen Display |
|---|---|---|
| Show room availability | Suitable | Suitable |
| Display upcoming meetings | Suitable | Suitable |
| On-screen room booking | Requires another device or interface | Possible with compatible software |
| Meeting check-in | Usually requires another device | Possible with compatible software |
| Extend or release bookings | Requires another device or interface | Possible with compatible software |
| Hardware complexity | Generally simpler | Requires touch hardware and interface support |
For employees who only need to verify room availability, a non-touch screen may be the simpler choice. Conversely, if the organization desires walk-up booking and check-in, a touchscreen display can offer a more user-friendly experience.
Operating System and Hardware Performance
The operating system plays a crucial role in determining which room scheduling applications can be utilized on the display.
Hardware based on Android can be appropriate for compatible room management applications, browser-based interfaces, and tailored software solutions. If the organization’s software or IT infrastructure mandates a specific operating environment, other platforms may be necessary.
When assessing the hardware, it is essential to take into account the processor, RAM, internal storage, supported operating system version, network interfaces, and long-term software compatibility.
The performance requirements are contingent upon the application in use. A basic web-based status page may require fewer resources compared to a more intricate interface featuring animations, multiple schedules, or additional interactive capabilities.
Additionally, it is vital to verify whether the device can automatically launch the necessary application following a restart. This capability minimizes the need for manual intervention during daily operations.
Calendar and Software Compatibility
The compatibility of software is a crucial aspect of any meeting room display initiative.
Prior to purchasing hardware, it is essential to identify the calendar or room booking system that will oversee reservations. Subsequently, verify that the display application is compatible with that system and can access the necessary room resources.
Key questions to consider include:
- Does the software provide support for Microsoft 365, Exchange, or Google Workspace?
- Is it capable of automatically synchronizing room calendars?
- Does it offer real-time or scheduled status updates?
- Can employees reserve rooms directly from the display?
- Are there functionalities for check-in and automatic release?
- Is it possible for administrators to manage multiple displays from a central location?
These functionalities depend on the software’s integration and configuration. They should not be presumed solely based on the display’s operating system or processor.
Meeting room displays generally need a network connection to receive schedules and communicate with the management platform.
Depending on the device and installation, connectivity may include Wi-Fi or Ethernet. Wired Ethernet can be useful in corporate environments where a stable and controlled network connection is preferred.
Power can be supplied through a DC adapter or Power over Ethernet (PoE), depending on the display’s design.
PoE is particularly useful for installations outside meeting rooms because it can carry both network data and electrical power through a compatible Ethernet connection. This can reduce the need for a separate power outlet near every display.
However, not every Ethernet-connected display supports PoE. Confirm the supported PoE standard, power requirements, and compatibility with the network switch or injector before installation.
Installation Guide for Meeting Room Status Displays
Successfully installing a display requires more than simply affixing a screen to the wall. It is essential to ensure that the display is accurately positioned, connected to the network, linked to the appropriate room, and verified against the scheduling system.
Step 1: Determine the Installation Site
Begin by pinpointing the precise location for each meeting room display.
Typically, the most effective position is outside the entrance of the meeting room, allowing employees to view the screen prior to entering.
During the planning phase, take into account:
- Visibility from the hallway
- Proximity to the entrance
- Height of the screen and angle of view
- Conditions for mounting on walls or glass
- Availability of nearby power and network connections
- Cable management and access for maintenance
For installations on glass walls, ensure that the mounting bracket and installation technique are suitable. For standard walls, verify the type of surface and the necessary fixing hardware.
Refrain from selecting locations where the screen may be obstructed by an open door, furniture, or other signage.
Step 2: Verify Power and Network Specifications
Prior to installing the device, ascertain its power supply method and network connectivity.
If the display operates with a DC adapter, ensure that an appropriate power outlet is accessible and that the cable can be safely routed.
In the case of Power over Ethernet (PoE), verify that the display is compatible with the necessary PoE standard and that the network switch or injector can deliver adequate power.
Additionally, assess network accessibility. Certain room scheduling systems may require connectivity to cloud services or internal calendar platforms. Corporate firewalls, network permissions, and authentication protocols could impact connectivity.
It is advisable to validate these requirements with the IT department prior to the installation of multiple displays.
Step 3: Install and Connect the Display
Follow the hardware manufacturer’s guidelines to install the mounting bracket.
For displays mounted on walls, ensure that the bracket is securely attached and positioned at an appropriate viewing height. For installations on glass surfaces, utilize a mounting solution specifically designed for both the display and the installation surface.
After the mounting process, connect the power and network cables. Maintain cable organization and prevent exposed wiring that could be susceptible to damage or disrupt office activities.
Once the hardware connections are established, power on the display and verify that it initializes correctly.
Step 4: Configure the Operating System and Application
The next step is to prepare the device to run the room status application.
Depending on the hardware and software, this may involve:
- Connecting the display to the office network.
- Installing or opening the room scheduling application.
- Configuring the application to launch automatically.
- Setting the correct language and time format.
- Applying the company’s logo and display theme.
- Enabling the required screen and touch settings.
For browser-based applications, confirm that the browser is compatible and configured for the intended display mode.
The exact setup procedure depends on the selected platform and application.
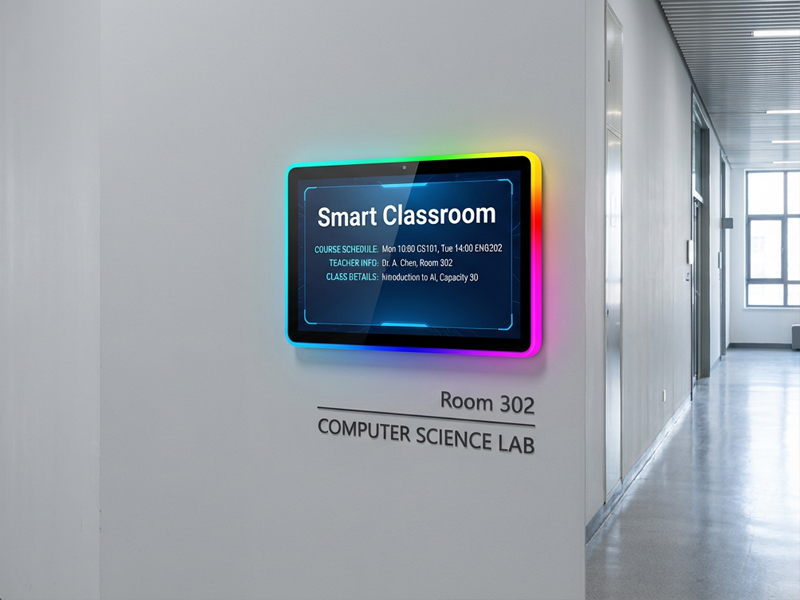
YC-LE156
15.6″ Meeting Room Display Panels
Step 5: Link the Meeting Room Calendar
Each display must be linked to the appropriate meeting room or calendar resource.
For instance, an office might maintain distinct room calendars for its small meeting rooms, large conference rooms, and training areas.
The administrator is required to:
- Integrate the scheduling platform with the organization’s calendar service.
- Choose or establish the suitable room resources.
- Allocate each display to the corresponding room.
- Set up the information that will be displayed on the screen.
- Establish booking permissions and optional check-in protocols.
- Verify that the correct schedule is displayed.
It is crucial to pay close attention to the time zone and calendar permissions. Incorrect configurations may lead to missed reservations or discrepancies between meeting times and the actual office schedule.
Step 6: Verify Room Status and Booking Functions
Prior to finalizing the installation, it is essential to test the entire workflow.
Initiate a sample reservation and observe if the display updates appropriately. Subsequently, assess the system’s response when a meeting commences, concludes, or undergoes modifications.
If touchscreen booking is activated, evaluate the available functionalities, such as booking, check-in, extension, and release.
Additionally, verify the following:
- Whether the correct room name is shown
- Whether current and forthcoming meetings are displayed accurately
- Whether the time and time zone are precise
- Whether status indicators adjust as anticipated
- Whether the display reconnects following a network disruption
- Whether the application restarts successfully after a reboot.
Conducting a comprehensive test of the entire system aids in identifying issues before employees start utilizing the displays.