Wall Mounted Smart Control Panel Installation Guide
As smart home and building automation systems become more popular, wall-mounted smart control panels are increasingly essential for managing various systems, including lighting, climate control, security, and entertainment. These compact, user-friendly panels provide centralized control, improving convenience and efficiency in both residential and commercial spaces. However, the process of installing a wall-mounted control panel can be complex without proper guidance.
In this article, we will guide you through the installation process of a wall-mounted smart control panel, using Portworld’s innovative smart panels as an example. With Portworld’s expertise in providing customizable and reliable smart control solutions, we will demonstrate how to install and integrate their smart control panels for a seamless experience.
Why Choose Portworld for Wall-Mounted Smart Control Panels?
Portworld specializes in customizable smart control solutions, offering a range of wall-mounted panels powered by Android OS and PoE (Power over Ethernet) technology. These panels are designed for smart homes, office automation, and commercial spaces, providing users with an intuitive interface for controlling everything from lighting to temperature. With models like the YC-1011 and SM41P, Portworld’s panels are compact, efficient, and easy to install, making them ideal for various environments.
Key Features of Portworld’s Wall-Mounted Smart Control Panels
Before we dive into the installation process, let’s take a moment to understand the features of Portworld’s smart control panels:
- Power over Ethernet (PoE): Simplifies installation by providing both power and data through a single Ethernet cable.
- Android Operating System: Offers a familiar, easy-to-use interface with flexibility for customization and integration with third-party devices.
- Compact Design: Available in different sizes, including 4-inch, 5.5-inch, and 10.1-inch models, perfect for various spaces.
- Multi-Device Integration: Supports integration with lighting, climate control, security systems, and entertainment devices.
- Customizable Interface: Allows for tailored controls based on the needs of your space and branding.
Now that we know what the product offers, let’s look at the installation steps.
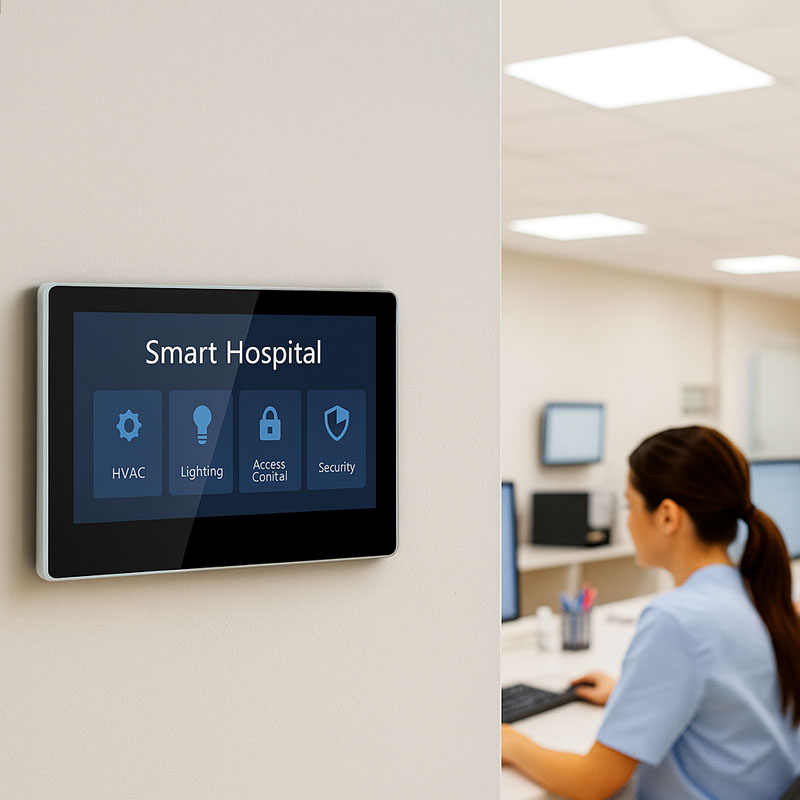
YC-SM10P Smart Home Wall Mount POE Tablet-3
Step-by-Step Installation Guide for Portworld’s Wall-Mounted Smart Control Panels
Step 1: Gather the Necessary Tools and Materials
Before starting the installation, make sure you have all the necessary tools and materials:
- Portworld Smart Control Panel (e.g., YC-1011 or SM41P)
- Ethernet cable (compatible with PoE)
- Screwdriver (for wall mounting)
- Mounting bracket (provided by Portworld)
- Power tools (if drilling is required)
- Measuring tape and level (for alignment)
- Wire connectors (for connecting to the Ethernet network)
Step 2: Select the Installation Location
Choosing the right spot for the control panel is crucial for both functionality and aesthetics. The ideal location should be:
- Easily accessible to users.
- At eye level, typically around 4-5 feet from the floor.
- Near existing Ethernet ports or the network switch for PoE connectivity.
- Not obstructed by furniture, doors, or other objects.
Once you’ve chosen the location, use the measuring tape and level to mark the wall for the mounting bracket’s position.
Step 3: Install the Mounting Bracket
The mounting bracket is a key part of the installation process. It will secure the control panel in place, so proper alignment is essential.
- Use the level to ensure that the bracket is positioned straight.
- Drill small pilot holes in the wall according to the bracket’s mounting holes.
- Install the bracket using screws, ensuring it is securely fixed to the wall.
Step 4: Connect the Ethernet Cable (PoE)
One of the main advantages of Portworld’s PoE smart control panels is the simplicity of the installation process. Power and data are transmitted through a single Ethernet cable.
- Connect the Ethernet cable from the network switch or router that supports PoE.
- Ensure that the Ethernet cable is securely connected to the PoE port on the back of the control panel.

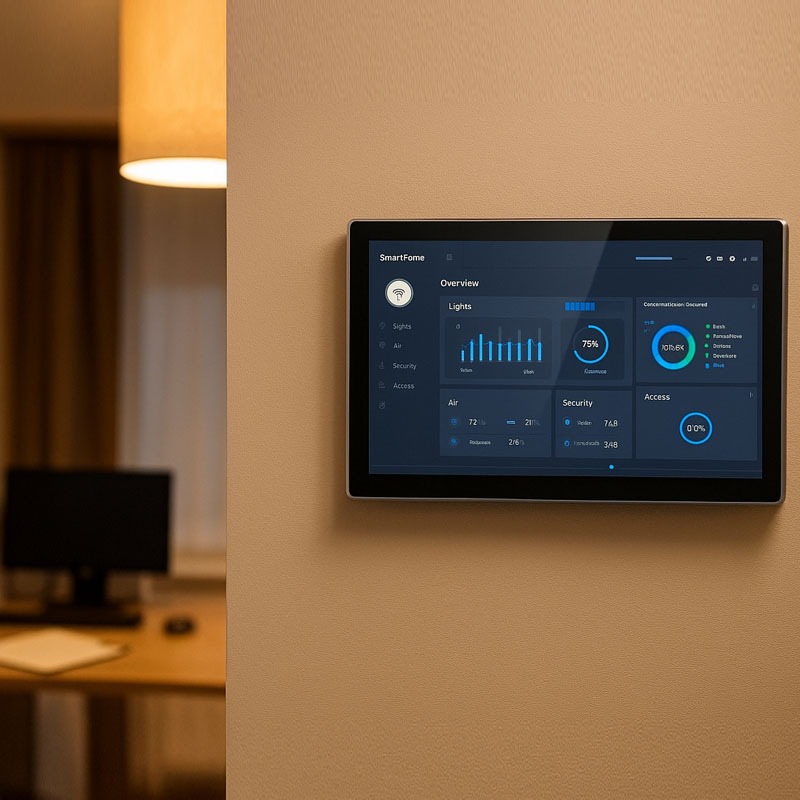
YC-SM10P 10.1 inch Smart Home POE Touch Control Panel
Step 5: Mount the Control Panel
With the bracket installed and Ethernet connected, it’s time to mount the smart control panel.
- Gently attach the Portworld smart control panel to the mounting bracket.
- Ensure that the panel clicks into place securely and that the screen is positioned correctly.
Step 6: Power On and Test the Connection
Once the panel is mounted and the PoE connection is established, power it on.
- The Android interface should load automatically. If the screen does not turn on, double-check the PoE connection and make sure the network is functioning properly.
- Once the panel is powered on, you will see the home screen or dashboard, where you can access various functions such as lighting control, temperature settings, and more.
Step 7: Configure the Control Panel
Now that the physical installation is complete, it’s time to configure the system:
- Set Up the Network: If your smart control panel requires additional network setup (Wi-Fi or Bluetooth), follow the prompts to connect to your local network.
- Install and Configure Smart Device Integrations: Depending on the systems you want to control (e.g., lighting, HVAC, security), integrate the panel with your devices by following the user interface instructions.
- Customize the Interface: Portworld allows for a highly customizable interface, so you can tailor the control options according to your needs. You can add icons, adjust settings, or integrate with third-party apps.
- Test the Panel: After configuration, test the panel by controlling a few connected devices. Ensure everything works smoothly and that the panel responds correctly to touch commands.
Step 8: Final Touches and User Education
Once the control panel is successfully installed and configured, make sure to:
- Secure any exposed cables by hiding them behind furniture or using cable covers.
- Provide the end user (whether it’s a guest in a hotel room or a family member at home) with a brief guide on how to use the system, including how to control devices and customize settings.
YC-SM08M 8″ PoE Smart Home Automation Touch Control Panel
Troubleshooting Tips
While Portworld smart control panels are designed to be user-friendly and reliable, here are a few tips for troubleshooting common issues:
No Display on the Panel:
- Ensure the Ethernet cable is properly connected and the network switch supports PoE.
- Check the power source and confirm that the panel is receiving power.
Wi-Fi or Bluetooth Connectivity Issues:
- Ensure that your Wi-Fi or Bluetooth network is functioning properly and within range of the control panel.
Slow Response:
- Make sure that the network speed is adequate to support the panel’s functions.
- Ensure that the panel is not overloaded with too many connected devices.
Installing a wall-mounted smart control panel such as Portworld’s Android-based solutions can significantly improve the efficiency and user experience of any smart space. With PoE technology and intuitive Android interfaces, these panels offer seamless integration with various smart systems, providing centralized control and enhanced convenience.


smart control panel")


