How to Set Up a Smart Home Control Panel
In today’s connected world, smart home control panels have become an essential hub for managing all your smart devices from a single interface. Whether it’s adjusting your thermostat, controlling the lights, or managing security cameras, a smart home control panel offers ease and convenience. In this article, we will walk you through the steps to set up a smart home control panel and help you take full advantage of its features.
What is a Smart Home Control Panel?
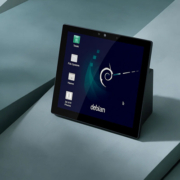
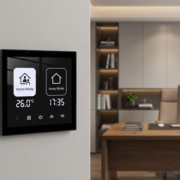
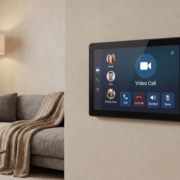
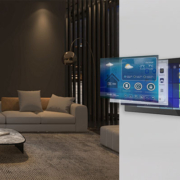
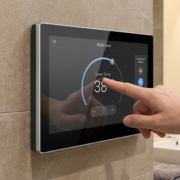
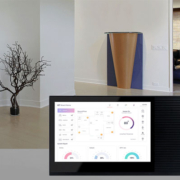
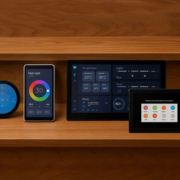
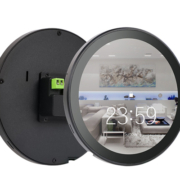
A smart home control panel is a central device that allows you to control and monitor various smart devices within your home. From lighting to temperature, security systems, and entertainment, this control panel integrates all of your smart devices into one user-friendly interface. Modern smart home control panels come with a touch screen, allowing you to easily adjust settings with just a few taps.
Benefits of Using a Smart Home Control Panel
-
Convenience: Control all your smart devices from a single panel.
-
Customization: Tailor the interface to suit your needs and preferences.
-
Automation: Set up schedules and automation routines for smarter living.
-
Remote Access: Monitor and control your devices even when you’re away from home.
How to Set Up a Smart Home Control Panel
Step 1: Choose the Right Smart Home Control Panel
Before setting up your smart home control panel, it’s important to choose one that fits your needs. Look for features like:
-
Compatibility with your smart devices (e.g., lighting, locks, thermostats, cameras, etc.).
-
Operating system (Android, iOS, Windows).
-
Screen size and interface design that suits your preferences.
-
Wireless connection (Wi-Fi, Bluetooth, Zigbee, or Z-Wave).
If you are seeking reliability and flexibility, Portworld’s range of smart home control panels can offer multiple options with customizable features and robust connectivity.
Step 2: Install the Control Panel
Once you’ve selected your smart home control panel, the next step is installation. Here’s how you can do it:
-
Mount the Panel: Decide where you want the control panel to be located. Most people opt for a central location, such as the living room, kitchen, or hallway.
-
Connect Power: Plug the device into an electrical outlet, ensuring it has a stable power supply.
-
Connect to Wi-Fi: Follow the on-screen instructions to connect the panel to your home Wi-Fi network. This is essential for enabling remote access and control.
Step 3: Integrate Your Smart Devices
Now it’s time to integrate your existing smart devices into the smart home control panel. Depending on the panel’s operating system, this could involve:
Scanning QR codes or entering device IDs for each smart device.
-
Linking devices via a smart home platform like Google Home, Amazon Alexa, or Apple HomeKit.
-
Adding devices manually through the control panel’s interface by selecting the device type and pairing it.
If you use Portworld’s smart home control panel, integration with devices such as lights, thermostats, and security cameras can be seamless. The platform supports major smart home ecosystems and allows for easy device management.
Step 4: Set Up Automation and Scenes
One of the best features of a smart home control panel is the ability to automate tasks and create custom scenes. For example:
-
Create an “Away” Scene: Automatically turn off lights, adjust the thermostat, and activate security cameras when you leave the house.
-
Set Daily Schedules: Program your thermostat to adjust temperatures at specific times or set your lights to turn on and off according to your routine.
Automation enhances the functionality of your smart home control panel and makes everyday tasks more convenient.
Step 5: Customize the Interface
A smart home control panel often comes with customizable settings, allowing you to arrange icons, prioritize certain devices, or change themes. Personalize the display to suit your aesthetic preferences and needs. This feature is especially useful if you have a variety of devices to manage.
Step 6: Control Your Smart Home with Voice Assistants
Many smart home control panels are compatible with voice assistants like Amazon Alexa or Google Assistant. After setting up your panel, you can use voice commands to control devices without needing to touch the screen. For example:
-
“Alexa, set the living room lights to 50% brightness.”
-
“Hey Google, lock the front door.”
This hands-free convenience is a great addition to your smart home control panel, making it even easier to manage your home’s devices.
Step 7: Keep the Control Panel Updated
To ensure your smart home control panel continues to function at its best, regularly check for software updates. These updates can provide new features, improve performance, and enhance security. Some panels may even update automatically, but it’s always good to check for updates manually from time to time.
Setting up a smart home control panel can seem overwhelming at first, but by following the steps above, you’ll be well on your way to enjoying a more convenient, connected, and automated home. Choose a control panel that meets your needs, integrate your devices, and enjoy the enhanced control it offers. With the right setup, your smart home control panel will soon be the heart of your smart home, making everyday tasks easier and more efficient.

