How to Rotate Raspberry Pi Touchscreen?
Touchscreen displays are a popular addition to Raspberry Pi projects, especially for building custom smart home control panels, kiosks, and media stations. However, users often face a common issue — the Raspberry Pi touchscreen boots up in the wrong orientation. If you’re seeing an upside-down display or your touch input doesn’t align with the screen, you likely need to rotate the display and touch input manually.
In this guide, we’ll walk you through the steps to rotate your Raspberry Pi touchscreen — both the display output and touch input — on the official 7-inch Raspberry Pi touchscreen or any compatible HDMI display with touch functionality.
Why You Might Need to Rotate the Touchscreen
Before diving into the solution, let’s understand why rotation is needed:
- Your Raspberry Pi is mounted vertically or upside down.
- You’re designing a smart home control panel with a portrait layout.
- You want to match the orientation of a wall-mounted screen.
- Touch input doesn’t match the display after rotation.
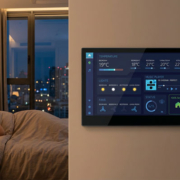
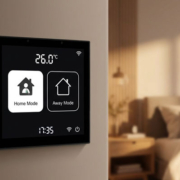
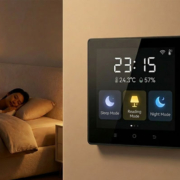
If you’re using your Raspberry Pi for a smart home control panel, proper screen orientation ensures intuitive and seamless user interaction.
Step 1: Rotate the Display Output
There are two main ways to rotate the display: editing the /boot/config.txt file or using the desktop GUI (if you’re running Raspberry Pi OS with desktop).
Method A: Using config.txt (Recommended for Lite version or headless systems)
- Open a terminal or SSH into your Raspberry Pi.
- Enter the following command to edit the config file:
sudo nano /boot/config.txt
Add or modify the following line near the bottom of the file:
For 0° (default):
display_lcd_rotate=0
For 90°:
display_lcd_rotate=1
For 180°:
display_lcd_rotate=2
For 270°:
display_lcd_rotate=3
Save the file and reboot:
sudo reboot
Note: For newer Raspberry Pi OS versions, use display_hdmi_rotate if using HDMI screen.
Method B: Using Raspberry Pi Desktop Interface
- Go to Preferences > Screen Configuration.
- Right-click on the display rectangle.
- Select Orientation > choose your desired rotation (Normal, Right, Left, Inverted).
- Click Apply, and then confirm the settings.
This GUI-based method is only available if you have the desktop environment installed.
Step 2: Rotate the Touch Input (If Needed)
Sometimes rotating the display alone causes the touchscreen to behave incorrectly. To fix this, you need to align the touchscreen input using the xinput tool.
First, list input devices:
xinput list
Find the name of your touchscreen device (e.g., FT5406 memory based driver).
Apply a transformation matrix based on the desired rotation:
0° (default):
xinput set-prop “Touchscreen Device Name” “Coordinate Transformation Matrix” 1 0 0 0 1 0 0 0 1
90°:
xinput set-prop “Touchscreen Device Name” “Coordinate Transformation Matrix” 0 1 0 -1 0 1 0 0 1
180°:
xinput set-prop “Touchscreen Device Name” “Coordinate Transformation Matrix” -1 0 1 0 -1 1 0 0 1
270°:
xinput set-prop “Touchscreen Device Name” “Coordinate Transformation Matrix” 0 -1 1 1 0 0 0 0 1
Replace "Touchscreen Device Name" with the exact name listed from the previous step.
To make this change permanent, you can add a script to autostart or use an .xinitrc configuration.
Additional Tips for Smart Home Control Panel Projects
If you’re using a Raspberry Pi touchscreen for a smart home control panel, consider the following:
- Lock the screen rotation to avoid accidental flips.
- Use a lightweight, full-screen UI built with Python (Tkinter, Kivy) or web frameworks.
- Optimize touch accuracy by calibrating the input if needed.
- Secure your Raspberry Pi setup with a strong power supply and stable OS.
For those seeking a more integrated and professional solution, Portworld offers pre-configured Android-based 4-inch and 5-inch smart home control panels that can eliminate the hassle of manual setup and configuration — perfect for both DIY users and system integrators.


