How to Build a Smart Home Using Raspberry Pi Device
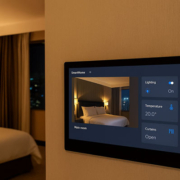
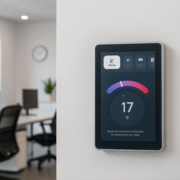
In this guide, we’ll show you how to build a smart home using a Raspberry Pi device, integrate it with open-source platforms like Home Assistant, and even connect it to professional control panels like those from Portworld for a sleek, wall-mounted interface.
Why Use Raspberry Pi for Smart Home Automation?
The Raspberry Pi is a powerful, credit-card-sized computer that’s perfect for DIY home automation projects. Here’s why it’s a favorite among smart home enthusiasts:
- Affordable: Most Raspberry Pi models cost less than $100.
- Flexible: Supports multiple operating systems and integrations.
- Expandable: Add sensors, cameras, relays, or smart switches.
- Open-source Friendly: Works seamlessly with Home Assistant, OpenHAB, Node-RED, and MQTT.
- Energy Efficient: Runs 24/7 without consuming much power.
Components You’ll Need
Before we dive into the setup, here’s what you’ll need:
Hardware:
- Raspberry Pi 4 (2GB/4GB) or newer
- microSD Card (32GB or more)
- Power Supply (USB-C for Pi 4)
- Ethernet cable or Wi-Fi connection
- Optional: USB Zigbee dongle, smart relays, PIR sensors, temperature sensors, or a Portworld smart home panel for frontend display
Software:
- Raspberry Pi OS or Home Assistant OS
- Home Assistant, Node-RED, or both
- MQTT Broker (e.g., Mosquitto)
Step-by-Step: Building Your Raspberry Pi Smart Home
Step 1: Install the OS
Option A: Home Assistant OS (Recommended for beginners)
- Download Home Assistant OS.
- Flash it to the microSD card using Balena Etcher.
- Insert the card into Raspberry Pi and power it on.
- Access Home Assistant via browser at
http://homeassistant.local:8123.
Option B: Raspberry Pi OS + Manual Install
- Flash Raspberry Pi OS Lite.
- Boot and connect to Wi-Fi or Ethernet.
- Update the system:
sudo apt update && sudo apt upgrade
- Install Home Assistant manually in a Python virtual environment.


