how to install smart control panel
Installing a smart control panel is a crucial step in setting up your smart home or smart office. These devices act as the central hub for managing and automating all your connected devices—whether it’s controlling lights, HVAC systems, security devices, or other smart appliances.
In this guide, we’ll walk you through the installation process for a smart control panel, covering everything from choosing the right panel to wiring and software configuration. Let’s get started!
Step 1: Choose the Right Smart Control Panel for Your Needs
Before you start the installation process, it’s essential to choose the right smart control panel based on your requirements:
- Panel Size: Do you need a small 4-inch panel, or are you looking for something larger, like a 10-inch panel?
- Connectivity: Ensure the panel supports the necessary connectivity (Wi-Fi, Ethernet, Bluetooth) to integrate with your existing smart devices.
- Operating System: Choose between Android-based or Linux-based panels depending on the level of customization and compatibility you require.
- Power Options: PoE (Power over Ethernet) panels are excellent for reducing wiring clutter and simplifying installation.
For example, Portworld offers a wide range of smart control panels, such as the YC-SM41P (4-inch, Android 13, PoE support), YC-SM10P (10-inch, Android/Linux), and the YC-L76 (7.6-inch, Android/Linux, PoE, and RS485 support) for various automation needs.
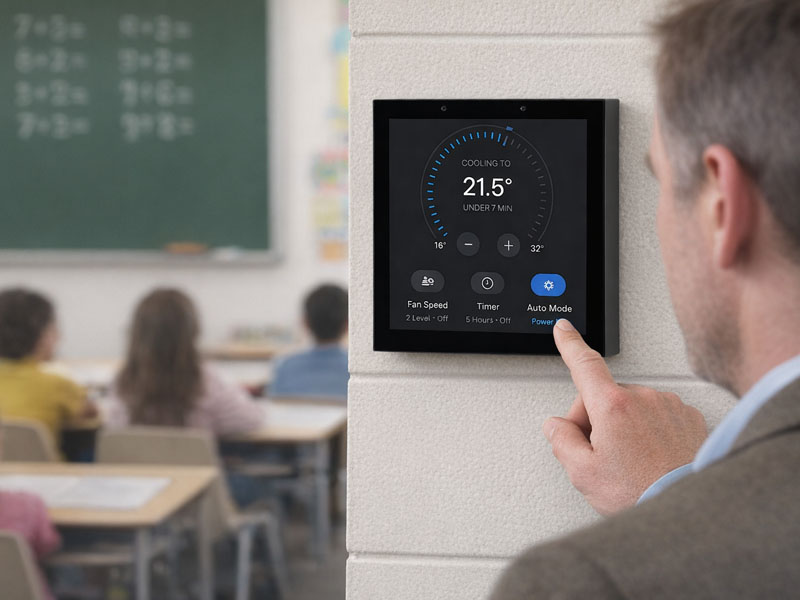
Smart Home Touch Control Panel0-1
Step 2: Choose the Installation Location
The next step is to choose the installation location for your smart control panel. Consider the following factors:
- Accessibility: Choose a location where the panel will be easily accessible for control and monitoring. The panel should be located near the devices you plan to control.
- Power Supply: Ensure there is an available power source (e.g., Ethernet cable for PoE or a nearby outlet for DC power).
- Visibility: Place the panel where the display is clearly visible, and where users can interact with it without obstructions.
Common installation spots for smart control panels include:
- Walls in the living room, kitchen, or hallway.
- Entryways for controlling security and lighting.
- Offices for smart office automation systems.
- Hotel rooms for room control in the hospitality sector.
Step 3: Prepare the Mounting Surface
Once you’ve selected the location, you’ll need to prepare the mounting surface. Here’s how to do it:
- Measure the dimensions of your smart control panel to ensure it fits within the space. Some panels are designed for flush mounting, while others may require a bracket or wall box.
- Install the mounting bracket (if required) on the wall, ensuring it’s securely fastened.
- If your panel supports embedded installation or requires a wall box, make sure the wall box is compatible with the panel and securely attached to the wall.
For instance, many Portworld smart panels, like the YC-SM10P and YC-L76, support embedded wall installations, which can provide a clean, professional look without visible cables or brackets.
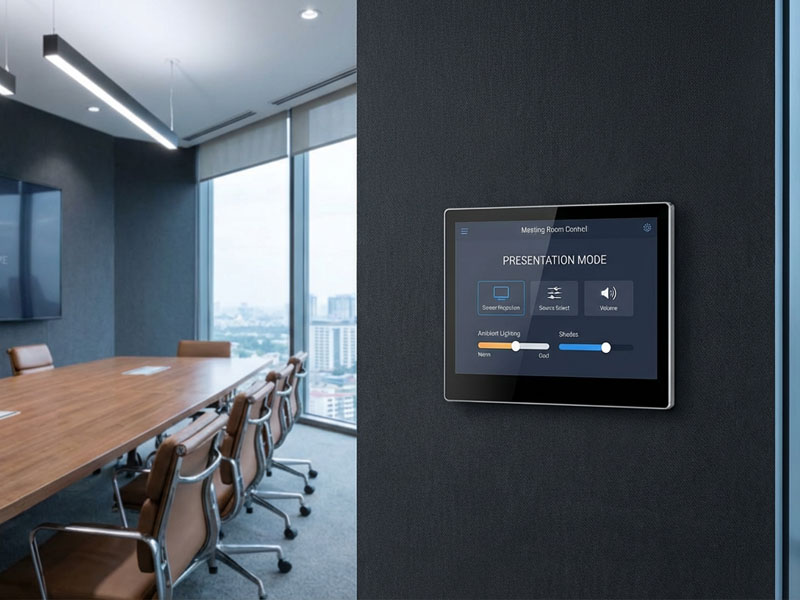
smart home control panel
Step 4: Connect the Power and Data Lines
At this stage, you’ll need to connect both power and data to the smart control panel:
-
PoE Installation (for panels with PoE support):
-
Connect the Ethernet cable from your router or network switch to the RJ-45 port on the smart panel.
-
PoE will deliver both data and power through the Ethernet cable, making it easier to manage and reducing the need for multiple cables.
For example, the YC-SM10P supports PoE, allowing for a single cable connection that powers and connects the panel to your home or office network.
-
-
DC Power (for panels without PoE):
-
If your panel uses DC power (e.g., 12V or 24V), plug the power adapter into a nearby wall outlet and connect it to the panel’s power input port.
-
-
Other Power Sources:
-
Some panels offer multiple power input options, such as USB-C or AC power. Make sure you follow the manufacturer’s instructions for these specific setups.
-
Step 5: Connect the Control Panel to Your Network
After setting up the power, you will need to connect the smart control panel to your network:
Wi-Fi Connection:
- For panels with Wi-Fi support, access the panel’s settings and choose your Wi-Fi network.
- Enter your Wi-Fi password to establish a connection.
Ethernet Connection:
- If your panel supports Ethernet, use a network cable to directly connect the panel to your router or network switch.
- This option is ideal for those who want a stable connection without relying on Wi-Fi.
Bluetooth Connectivity:
- Some panels also feature Bluetooth support for connecting to nearby devices or additional smart hubs.
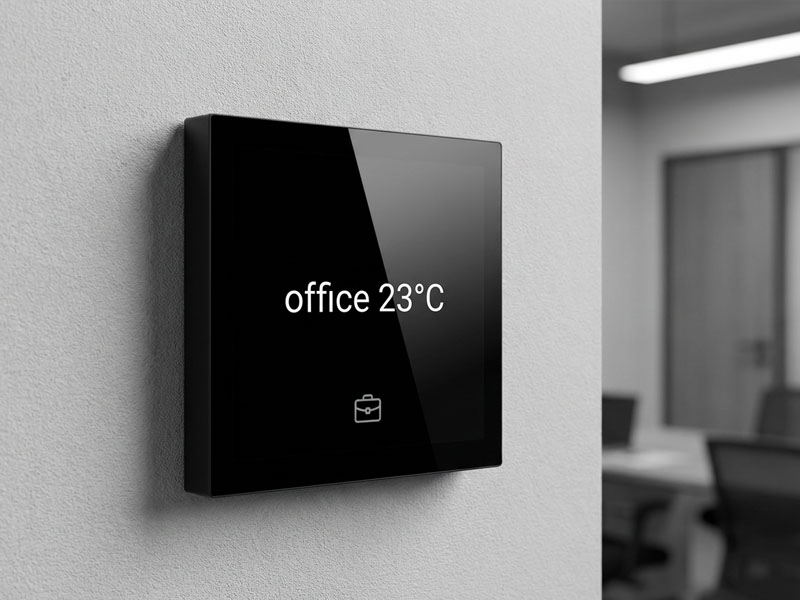
smart touch control panel-2
Step 6: Configure the Software and Set Up Automation
Once your panel is powered and connected, it’s time to configure the software:
-
Install and Set Up the App:
- For Android-based panels, download the relevant smart home control app (e.g., Home Assistant, Google Home, or Amazon Alexa).
- For Linux-based panels, ensure that you have the necessary automation software installed, such as openHAB or Home Assistant.
-
Configure Device Integrations:
- Add your smart devices (e.g., lights, thermostats, security cameras) to the app or software platform connected to the panel.
- Set up your automation rules, such as scheduling lighting, adjusting climate settings, or setting security alarms.
-
Customization:
- Customize the panel’s user interface (UI) to match your preferences. Many smart control panels, such as those from Portworld, offer customizable UI options for personalizing the dashboard.
- Add widgets, shortcuts, and icons for easy access to your frequently used devices and settings.
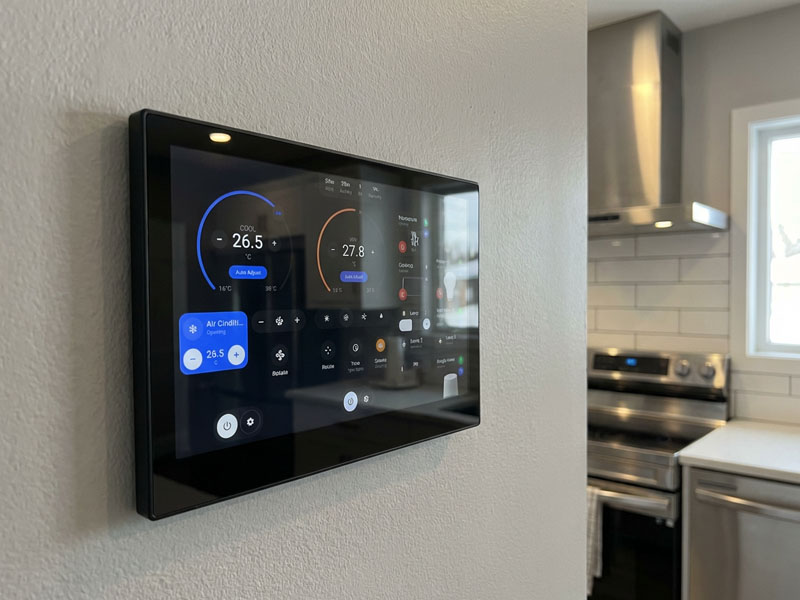
smart touch control panel8
Step 7: Test and Finalize the Installation
After completing the configuration, it’s important to test everything:
- Check that the panel responds correctly to touch inputs and that the display is clear and visible.
- Test each smart device to ensure proper integration and functionality through the panel.
- Ensure that the automation rules you’ve set are working as expected (e.g., lights turning on/off, temperature adjustments, security monitoring).
- Finalize the installation by securing any loose wires and ensuring that the panel is firmly mounted and operational.
Installing a smart control panel is a straightforward process, but it does require careful planning and configuration to ensure everything works seamlessly. By following this step-by-step guide, you can easily integrate a smart control panel into your smart home or smart office setup, enabling centralized control of all your connected devices.
Whether you’re using PoE-enabled panels like the YC-SM10P, compact panels like the YC-SM41P, or luxury smart panels like the YC-L76, Portworld provides a wide range of solutions to suit your automation needs. With easy installation, powerful performance, and customizable interfaces, Portworld smart control panels are perfect for upgrading your smart home or office experience.


