How to Install a Wall-Mounted Smart Home Panel
Installing a wall-mounted smart home control panel is an excellent way to centralize control over your home automation system. Whether you’re managing lights, thermostats, security systems, or entertainment devices, a smart home panel gives you an intuitive and seamless interface to control it all. However, the installation process can seem daunting if you’re new to home automation. Don’t worry! This guide will walk you through the steps to install your wall-mounted smart home control panel, with a focus on the high-performance Portworld smart control panels.
Step 1: Choose the Right Smart Control Panel
Before you start installation, ensure you’ve selected the right smart home panel for your needs. A good example is Portworld’s range of smart control panels, such as the YC-SM10P (10-inch), YC-SM41P (4-inch), or YC-SM08P (8-inch) models. These panels come with various features, including:
- Touchscreen interface for easy control.
- Wi-Fi, Ethernet, Bluetooth, and PoE support for flexible connectivity.
- Customization options to fit your specific home automation needs.
Step 2: Gather the Necessary Tools and Materials
You’ll need the following tools and materials to install your wall-mounted smart home control panel:
- Smart home control panel (e.g., YC-SM10P)
- Power drill
- Screwdriver
- Measuring tape
- Level
- Wall anchors
- Ethernet cables (if using PoE or wired connection)
- Power source (either PoE or separate power adapter, depending on your panel)
- Mounting brackets (provided with the smart panel)
Make sure your installation site is near an electrical outlet, or, if you’re using PoE (Power over Ethernet), near an Ethernet port or switch.

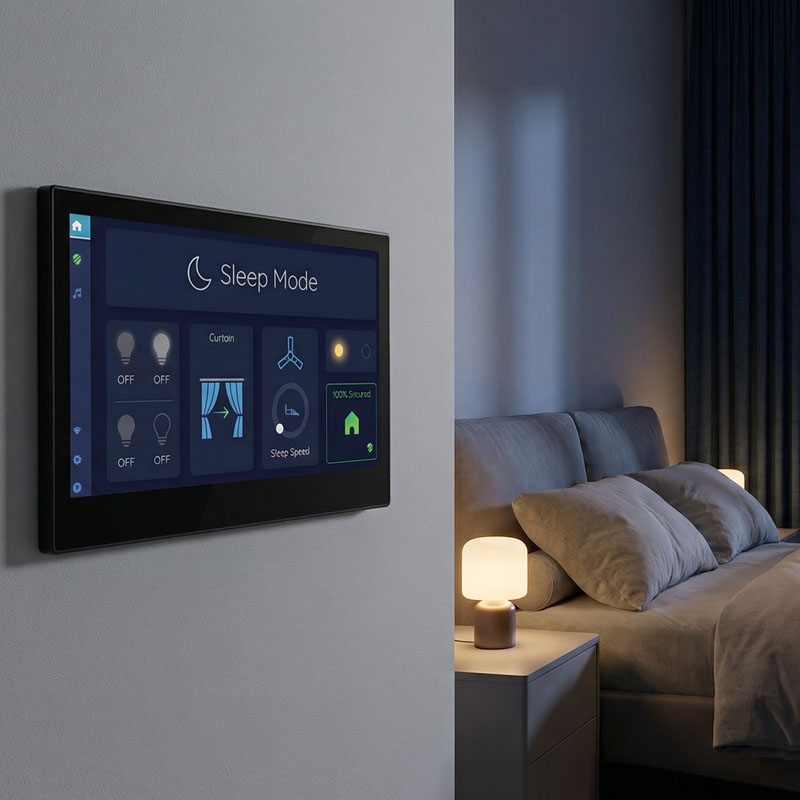
YC-SM14P-smart control panel
Step 3: Decide on the Installation Location
Choosing the right location is crucial for easy access and convenience. Keep the following factors in mind when selecting where to install your smart control panel:
- Height: The panel should be installed at a comfortable height for viewing and control. Typically, 4 to 5 feet off the ground works best.
- Accessibility: Choose a location that is easily accessible but not prone to accidents, like a hallway or kitchen area.
- Connectivity: Ensure that the installation location has access to a Wi-Fi network or Ethernet port for a stable connection.
Use your measuring tape and level to mark the exact spot where you’ll place the panel, ensuring it’s aligned properly.
Step 4: Install the Mounting Bracket
Most smart home control panels come with a mounting bracket to securely hold the device in place. Follow these steps:
- Mark the drill holes: Using your measurements, mark the spots on the wall where the mounting bracket will go.
- Drill holes: Use the power drill to create holes in the wall where the mounting bracket will be attached. For drywall, be sure to use wall anchors to ensure the bracket stays secure.
- Attach the bracket: Secure the bracket to the wall with screws and a screwdriver, ensuring that it’s level and tightly mounted.
Step 5: Connect the Panel to Power and Data
Now that the bracket is in place, it’s time to connect the panel to power and data sources. There are two main installation options:
Option 1: Power over Ethernet (PoE)
If your smart home panel supports PoE, you can use a single Ethernet cable to provide both power and data. Here’s how to do it:
- Connect the Ethernet cable from your router or network switch to the Ethernet port on the panel.
- Ensure the PoE injector or switch is functioning properly to supply power to the panel via the Ethernet cable.
- Mount the panel onto the bracket and connect the cable to the back of the device.
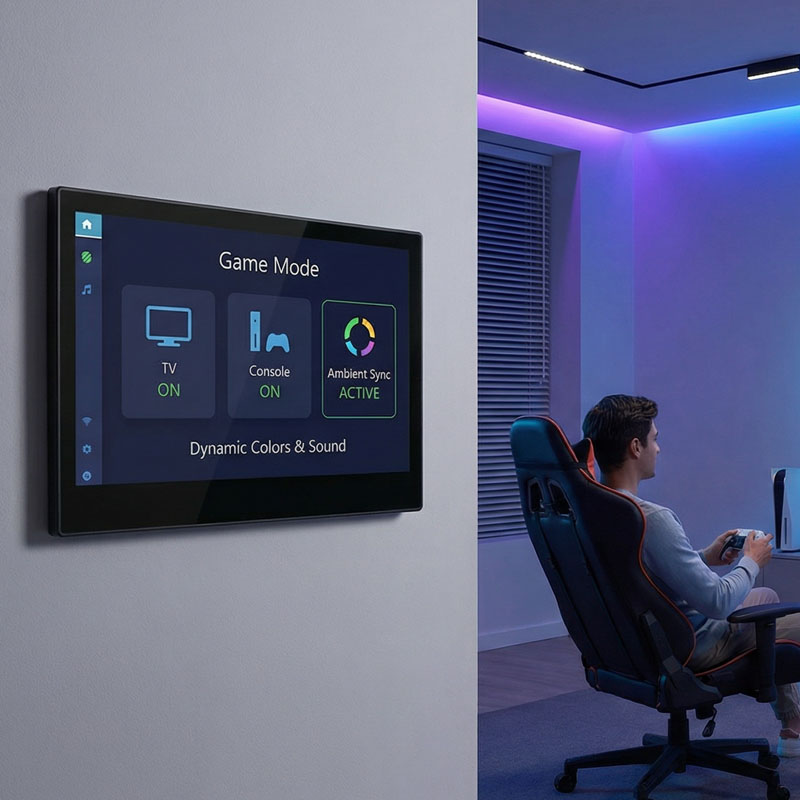
YC-SM1011 10.1 inch Smart Home Touch Control Panel
Option 2: Separate Power Adapter
If your panel doesn’t support PoE, you’ll need a separate power adapter to connect the panel to a nearby electrical outlet:
- Plug in the power adapter to the panel.
- Route the power cable neatly down the wall to the electrical outlet.
- Install the Ethernet cable for data connection (if necessary) or connect to Wi-Fi during the setup phase.
Step 6: Mount the Smart Control Panel
Once your power and data cables are connected, it’s time to mount the panel:
- Secure the panel onto the mounted bracket by following the instructions in the manual. The panel should snap into place or be secured with screws.
- Ensure the panel is flush against the wall and well-positioned according to the level markings from earlier.
Step 7: Power Up and Configure the Smart Home Panel
With the panel securely mounted and powered, it’s time to power up and configure it:
- Turn on the panel and wait for it to boot up.
- Follow the on-screen instructions to set up your panel, including connecting to your Wi-Fi network or Ethernet and logging into your home automation system.
- Install any necessary apps or software that will allow you to control your smart devices. This may include apps for lighting, climate control, security systems, or entertainment systems.
- Customize the interface according to your preferences, including setting up automation routines, managing device groups, and adjusting the display.
Step 8: Test the System
Once everything is set up, test the system to ensure everything works smoothly:
- Check connectivity: Ensure the smart panel is properly connected to your Wi-Fi or Ethernet and that all devices are responsive.
- Test the functionality: Test controls for lighting, heating, cooling, and security features to make sure everything operates as expected.
- Adjust settings: Fine-tune your panel’s settings for the best user experience, such as adjusting screen brightness or enabling voice control.
YC-SM116P 11.6 inch Smart Home Automation Touch Control
Enjoy Your Seamless Smart Home Control
Installing a wall-mounted smart home control panel provides centralized, intuitive control over your entire smart home system. With the right installation and setup, you’ll be able to control lighting, security, climate, and more from one easy-to-use interface.
By choosing Portworld’s range of smart home panels, like the YC-SM10P, YC-SM08P, or YC-SM41P, you ensure a high-quality, user-friendly experience for managing your connected devices. Whether you’re enhancing your home or office automation system, Portworld provides the tools to make your home smarter, more efficient, and easier to manage.


1")


